I feel like I say every project is my favorite – but this one REALLY is my new favorite. Unlike the Shim Tack Sunburst Mirror, my anchor cooperated with me every step of the way. And it was inexpensive. And it’s downright awesome. I’m pretty humble about this one – can you tell? 🙂
Every time I go to Target I drool over the nautical collection they have right now. In fact, I’m hoping some of it goes on clearance soon! In the meantime, I wanted to make my own nautical art. I had the crazy idea to make an anchor image out of twine!
I picked up a pre-cut 24″x24″ piece of wood and several 1″ x 24″pre-cut pieces to use as the frame, along with twine & navy blue spray paint.
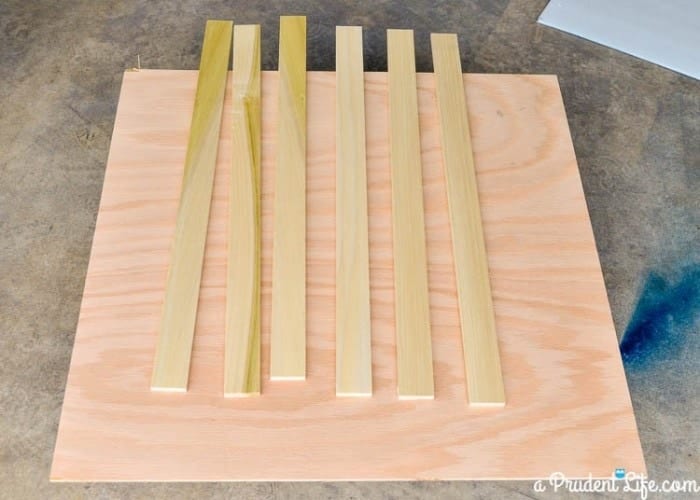
The first step was spray painting the wood navy and letting it dry. I also spray painted the frame pieces aged copper (although they didn’t stay copper for long).
 I found a small anchor image online to use as my guide, and printed it as large as my printer would allow. This is where I got really lucky. I realized that exactly doubling all the measurements on my guide anchor would be the perfect fit! Don’t try to be lucky like me. Figure out how big you want your finished product, then scale your guide appropriately.
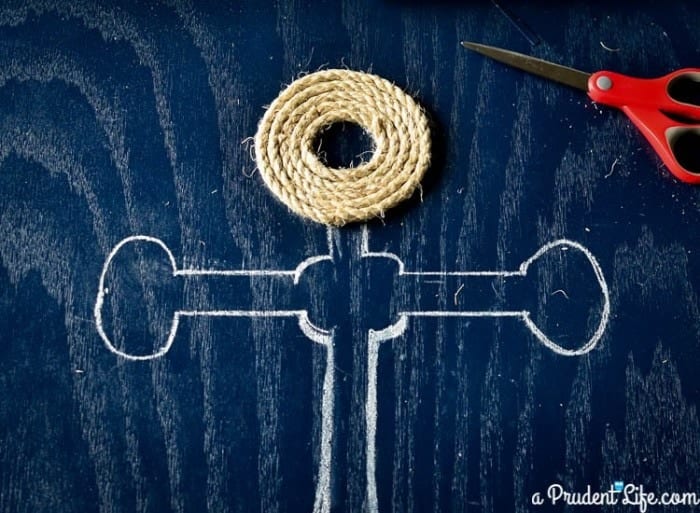
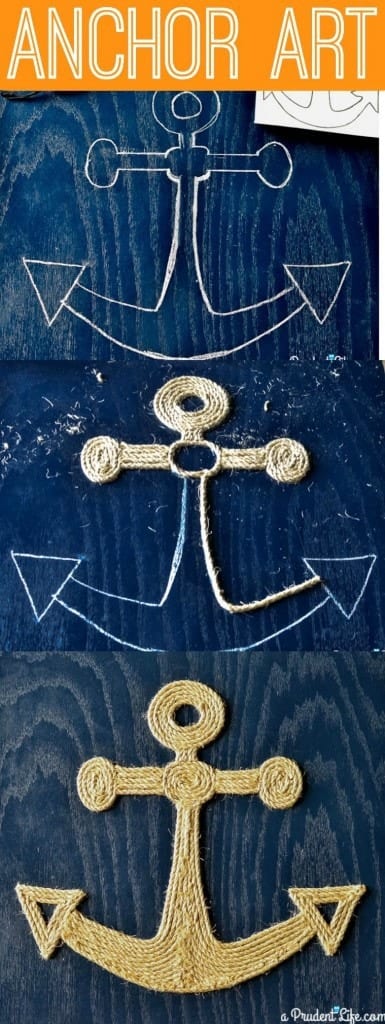
 I was to lazy to find a yard stick, so I used my Silhouette mat as a straight edge 🙂 The pencil didn’t show up at all on the dark blue background, but chalk was an easy solution. The chalk outline doesn’t have to be perfect because it will all be covered up with rope.
 I was pretty shocked that I was able to sketch it out so easily using my guide image. Once I had the outline done, the real fun began! I used hot glue to attach one piece of rope at a time. You’ll need some good, but inexpensive scissors to cut through the twine.
Each ring in the circle is a separate piece of rope. Make sure you stagger the end points of the rope to make the seams less noticeable.
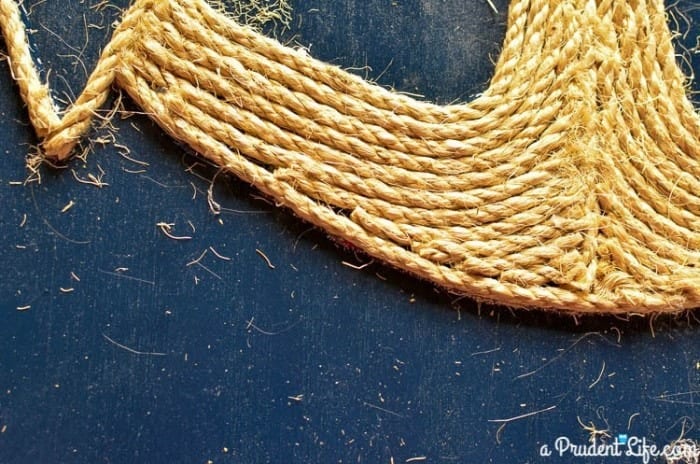
 It gets kind of messy with all the rope debris!
 As you can see in the picture below, there were some small gaps along the bottom. They were easily hidden by squirting in some hot glue and then carefully filling in the gap with an unraveled piece of twine. My twine was normally three strands thick, but I could unravel it to get a double or single piece.
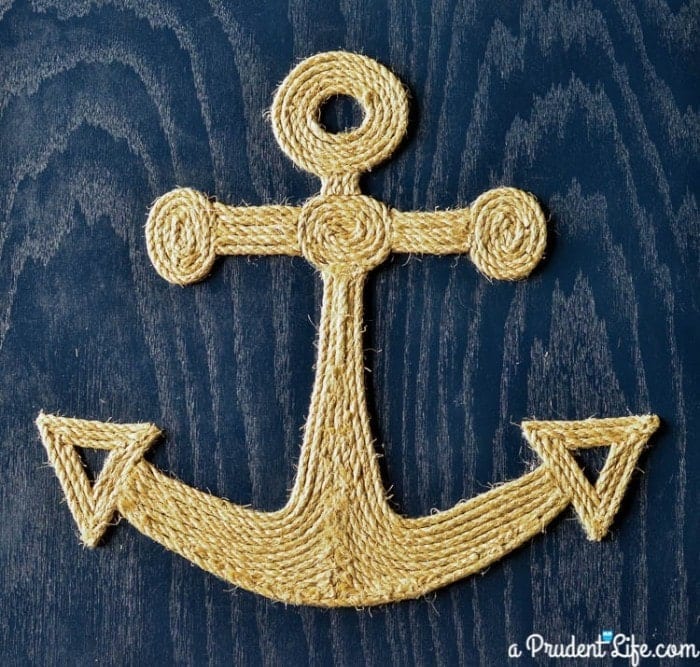
 Once I filled in all the gaps, it looked like this. Fun, right?
 For the frame, I opted to paint it white with some DecoArt Chalky Finish paint I already had on hand. I hot glued the horizontal pieces directly to the backer board. When those were set, I glued the vertical pieces right on top of the horizontal ones. This method meant there were NO cuts required for this whole project. Everything was straight off the shelf! The overlapping look wouldn’t work for every project, but I like it for this one!
 I loved the piece so much, I incorporated it into the office. I hung it up with Command Picture Hanging Strips. It’s a little high on the wall, but the chair is temporary (borrowed from the craft room). I expect the “real” office chair to have a higher back.
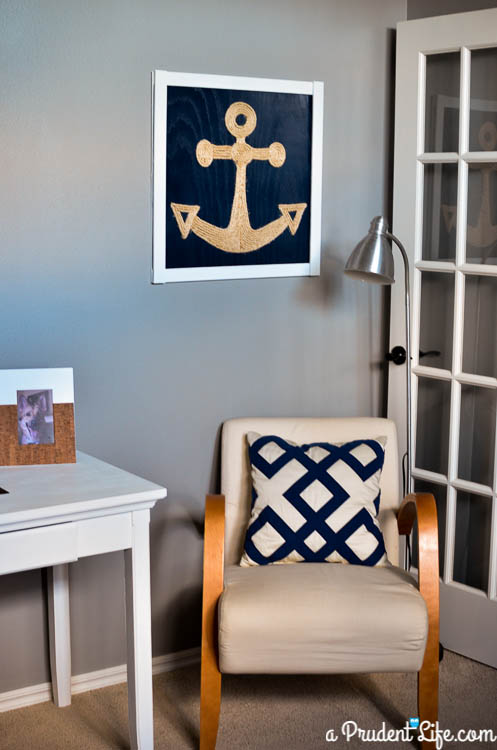
The whole project took a couple hours and cost somewhere between $10-$15. One package of twine was plenty – I still have some left! I love that it was inexpensive, because sadly I know the nautical trend won’t last forever. I normally prefer things that are more “inspired by” a trend instead of something so obvious, but when I had the idea for the rope anchor, I just couldn’t pass up trying it out!
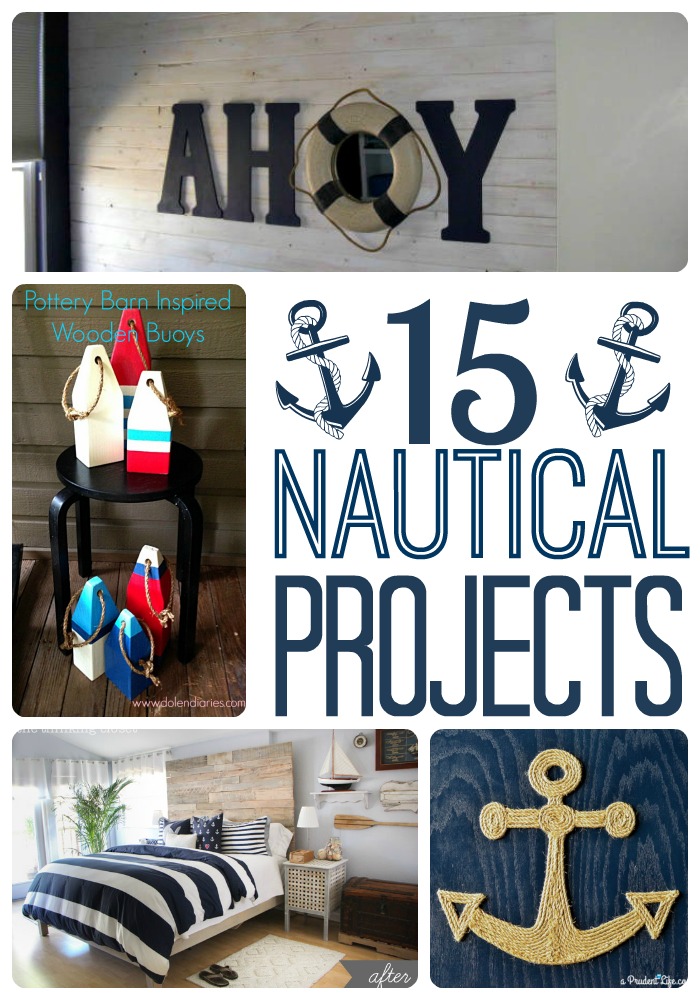
Need more nautical in your life? Check out my round up of 15 DIY nautical projects!
Don’t want to DIY it? I found some amazing AFFORDABLE anchor items you can buy!


Katie @ Addicted 2 DIY says
LOVE! This looks amazing and it is gorgeous over the chair with the navy and white pillow. It ties the whole look together. Awesome job!
melissa@polishedhabitat.com says
Thanks Katie! It’s so exciting when I can find things around the house to pull a look together…now I just need a replacement pillow in the living room to make up for this one! 🙂
Corrinna says
I love this! Would look really cute in a summer beach house!
melissa@polishedhabitat.com says
Thanks Corrinna! Despite being landlocked in Oklahoma, sometimes I pretend we live in a beach house 🙂
Laura@live-love-scrap says
I love how this turned out. The rope is a great touch!
Dee says
I love nautical decor, and your project turned out great! Thanks for sharing! 🙂
melissa@polishedhabitat.com says
Thank you Dee!
Kristy gd says
Wowza! This project came out phenomenally! Who knew that a bit of twine and some scrap wood could turn out so beautifully?! Thanks for stopping by the Creative Spark party!
Paula@SweetPea says
Love this idea for DIY art. The bold blue really sets off the brown rope that you used for the anchor.
Carrie This Home says
I love your projects Melissa! This project looks easy enough for someone like me! I will be featuring this post at the next Frugal Crafty Home Blog Hop! So glad you shared this with our readers!
Melissa George says
Thank you Carrie! It really was easy and much faster than I expected!
capturing joy with kristen duke says
I love this so much! I’m working on my nautical summer mantel right now, great inspiration!
Melissa George says
Thank you Kristen! I’m glad I’m not the only one still working on my summer mantel! 🙂
Ashley @ 3 Little Greenwoods says
This would be perfect for my boys’ bathroom makeover that’s going to happen… one day! Thanks so much for the inspiration!
~ Ashley
JaneEllen says
Your anchor is so wonderful, you did a spectacular job on it. Makes me want to make one myself.
It doesn’t really matter if it’s trendy if you like it enuf to make it and have it in your home. You did such a great job of drawing it out then putting the rope on it. Don’t you love projects that are quick and easy, inexpensive? I know I sure do. When they come out as well as yours you have right to be proud of your work. I’ve noticed that simple things look the best and are more interesting.
Guess trendy thing I’ve done is decorate with shells, beachy. Painted our living room with light gray paint after finding some awesome little darker shade gray curtains and that started it all. L/r ended up being beachy/cottage/shabby chic. I used vintage table cloths to cover a club chair and couch, both I got at Habitat. I made all new art with things I had already. Only things I really spent money on were paint and curtains. The curtains have a white design all over them. I waited almost 8 yrs. to paint the room so am very happy with outcome. Never thought I’d paint anything gray but after brown, jewel colors I love the serenity of the gray. Used couple shades of aqua, darker and lighter gray, white on some frames. and just a tad of coral. Painted lamp and shades, made new pillow covers with more of vintage table cloths. Guess I could say I’m quite happy with the changes. Happy week
Melissa George says
Thanks for reading JaneEllen, I love the aqua, gray, coral combo too!